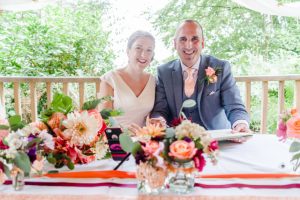
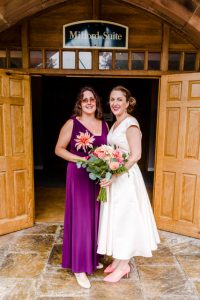
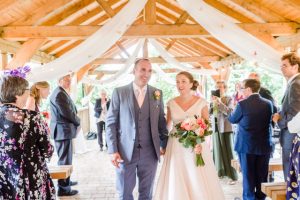
Congratulations & Best Wishes to Karen & Joan, who were married in September.
For me as a dressmaker it is a rare opportunity to write about the process of making a wedding dress as usually it is quite a secretive process. So here we go!
Karen already had a clear vision of the look she wanted for her wedding and she commissioned me, the dressmaking tutor at Straight Curves, to create that vision.
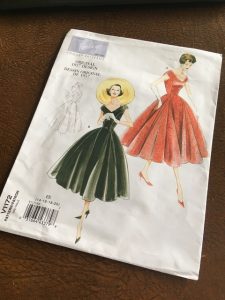
Our starting point was a 1957 Vintage Vogue pattern, which we altered from the pattern only slightly.
The fabric Karen chose was a luxurious duchess satin in a soft champagne colour.
I decided to fully line the bodice which was not in the pattern instructions and Karen had requested that her dress had pockets, so I added pockets to the side seams. I am especially proud of the pocket in the seam with the invisible zip as the pocket is really discreet and the zip is still invisible.
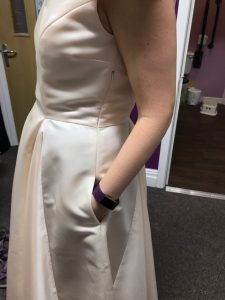

After the first fitting, we agreed that the dress would look better without the waist seam on the centre front panel, so I re-cut the front panel as a single piece, which although trickier to sew created a better finished look.
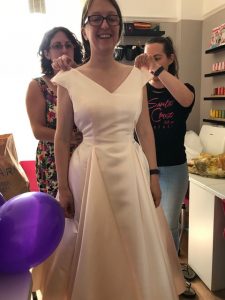
Trying the dress on with the correct underwear and shoes as early as possible is crucial as both can fundamentally effect the fit of the dress and if you’re wearing heels for your big day and you’re not a regular high heel wearer, it’s a good idea to practice wearing them in advance.
After replacing the front panel, the dress came together without too many alterations. A slight lift from the shoulders and taking the bodice in at the side seams to get a great fit on Karen.
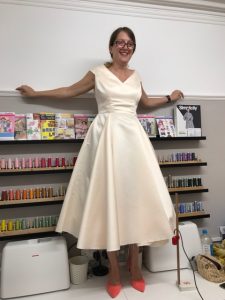
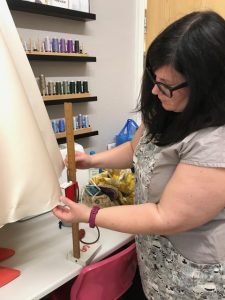
All that remained to be done was to measure, trim and finish the hem and some finishing touches by hand and the dress was ready for Karen’s big day!
