What is encaustic?
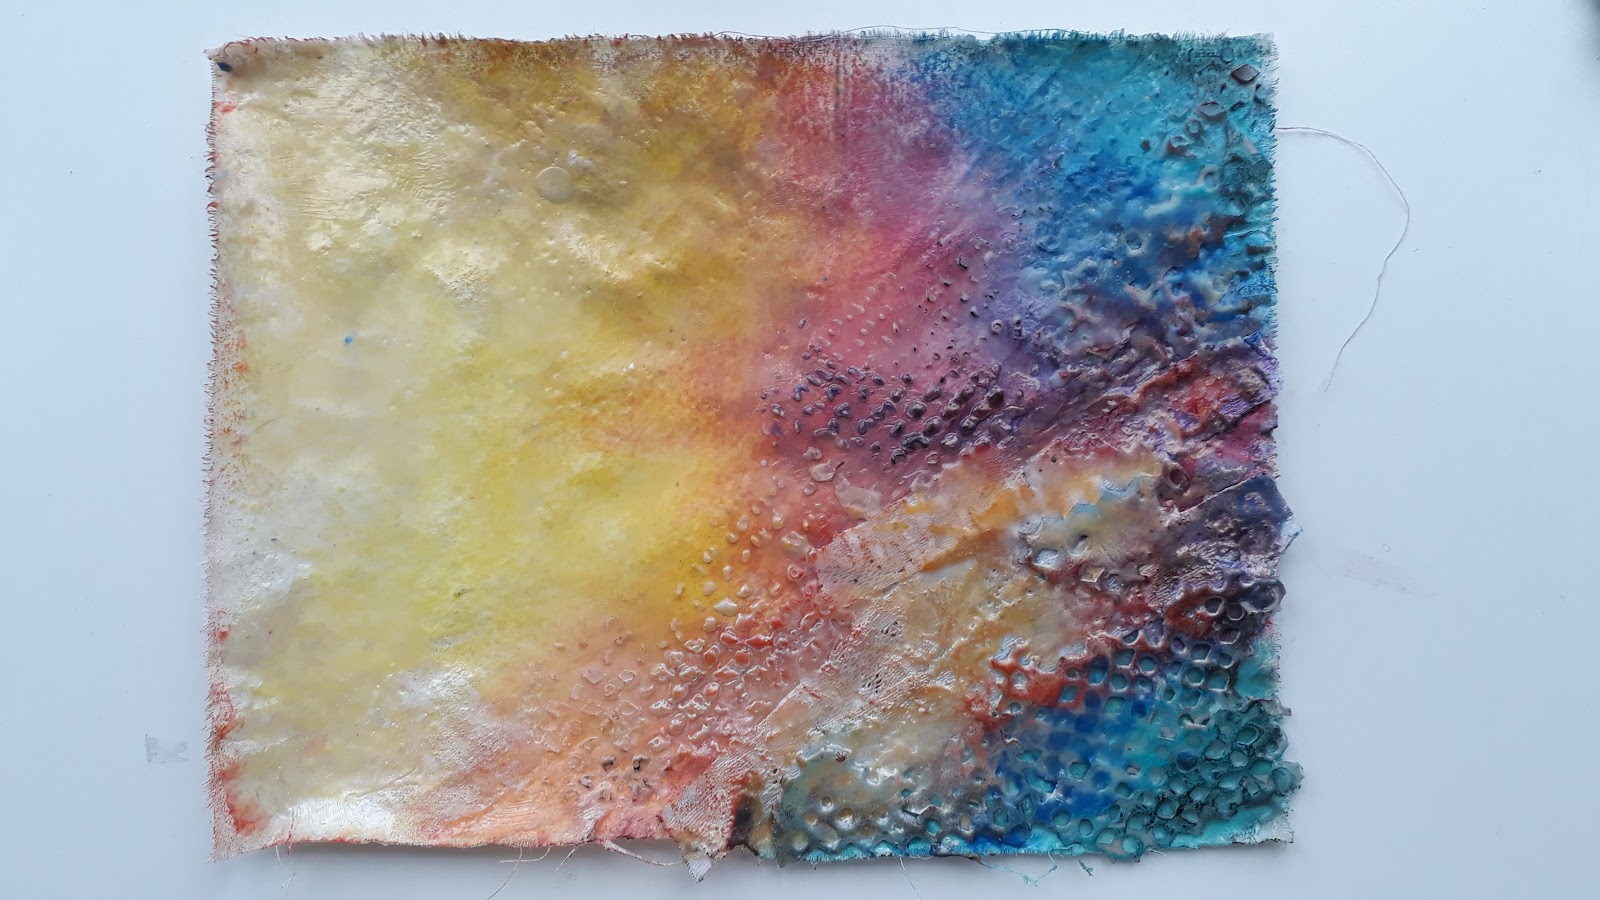
Encaustic is an ancient art form dating all the way back to Egyptian art 100-300 AD The word encaustic originates from the Greek word enkaustikos which means to burn-in, and this element of heat is necessary for a painting to be called encaustic. It uses a mixture of beeswax and damar resin with different pigments mixed in. You use a hot pallet, working with melted wax and heat guns to melt and blend the different colours together.
The Kit
I’m not going to lie, the initial setup to get started can be pricey so I encourage you to start off small, buy the essentials and work up from there. Keep an eye out in second-hand shops for things you could use to try and lower the cost.
So let’s start with the basic kit. You’ll need:
- An electric hot plate
- A flat thermometer
- A loaf tin or something similar to melt wax in
- Flat bottom metal containers
- A torch or heat gun
- Natural bristle brushes (synthetic brushes may melt)
- Encaustic medium
- Encaustic paints
- Soya wax
- Paper towels
- Gloves
- A substrate such as paper, card, or wood
- Encaustic gesso
Extra things which work well for projects are:
- Soft pastels
- Oil paint
- Oil pastels
- Collage
- Scraper tools
- Ink
Reading through the kit might have raised a few questions. Before we move on let me see if I can answer a few:
- What is encaustic medium? This is a blend of beeswax and damar resin. It dries clear so can be used to create transparent layers or mixed with pigment to produce different colours.
- What is encaustic paint? These are pre-made blends of medium and pigment (ready-made colours)
- What is encaustic gesso? This is a primer that gives the wax the tooth it needs to adhere to a substrate.
- Why do I need soya wax as well? Soya wax is your cleaner. Melt some on your pallet and wipe it down with paper towels to clean it and dip your brushes into it and wipe them down on the towels to clean them too.
Getting Started
Okay so now we know what’s needed, we are nearly ready to start but before we do there are some important safety tips to bear in mind.
- Heating the wax can create fumes that are toxic if overheated. Make sure you work in a ventilated room and always keep the wax at or below 200F (93c) If it is smoking it’s too hot so turn it down!
- Protect your hands by wearing gloves or barrier cream
- Have some cold water close by in case of burns
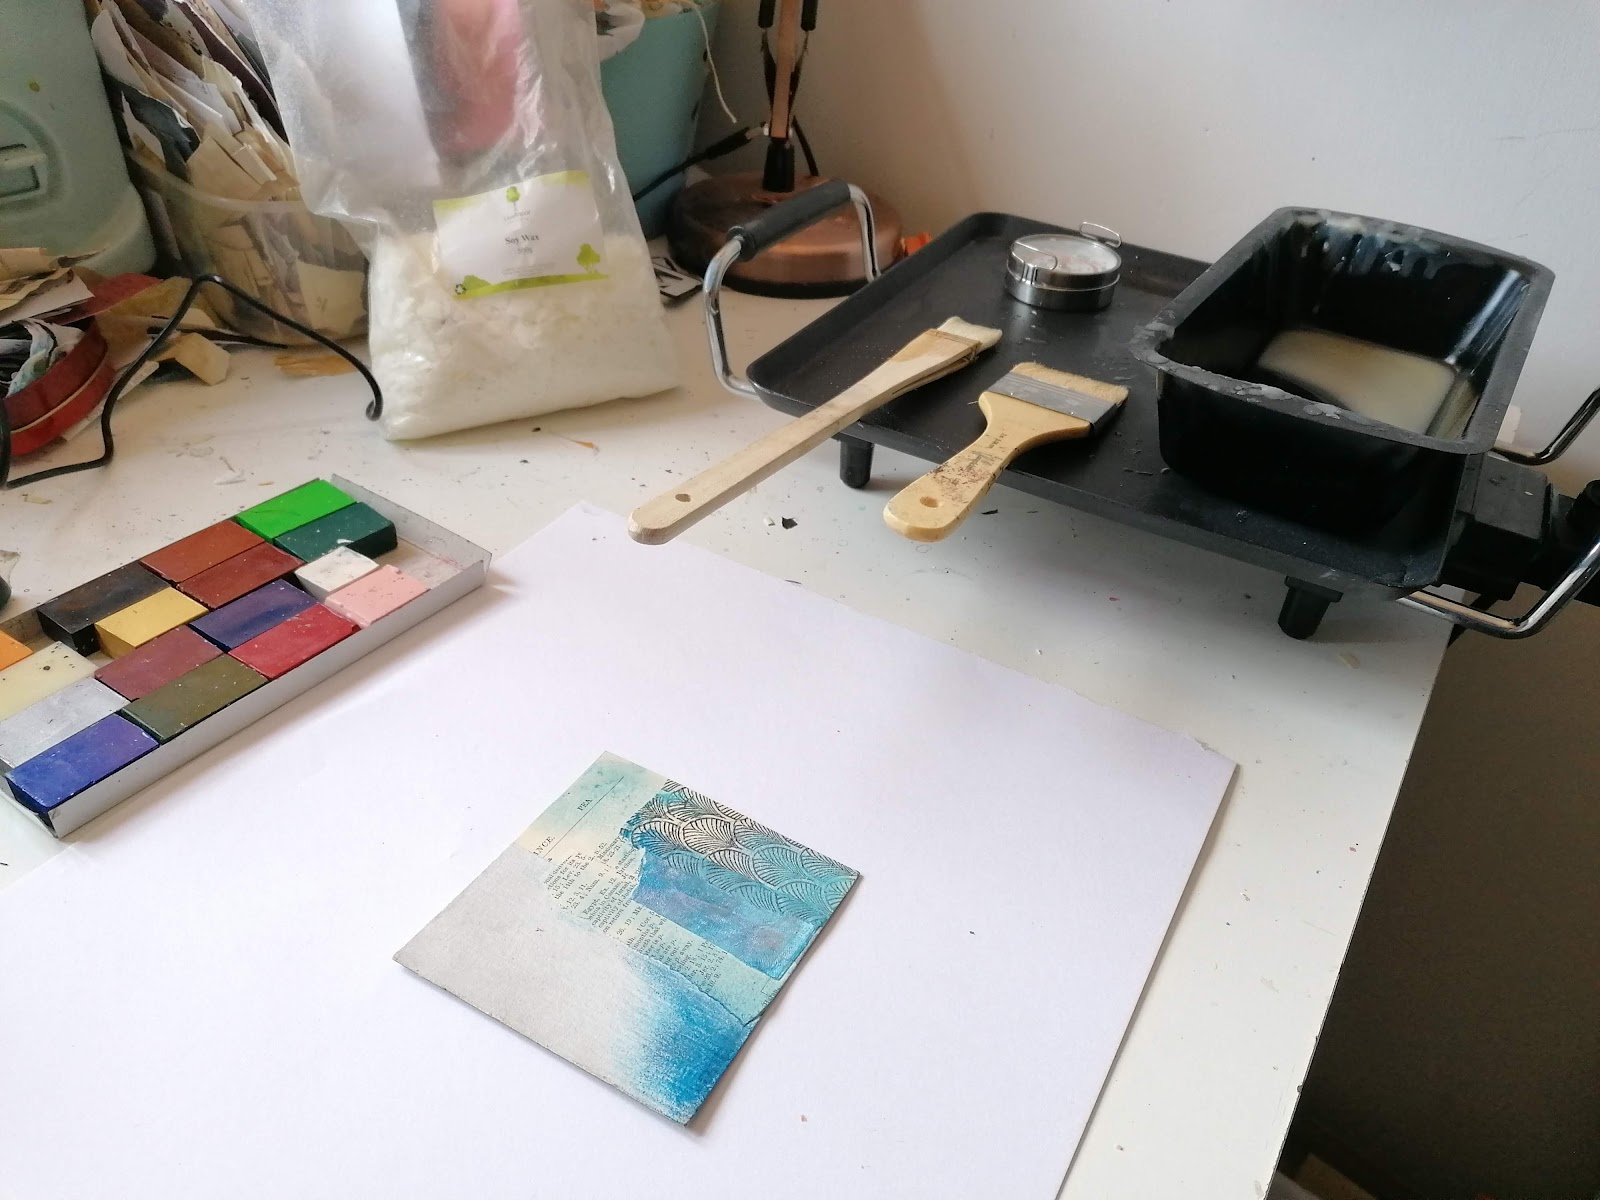
The best way to explain the process is to run through a basic project. So let’s start with our substrate. For this, I’m going to work on some cardboard but you could also use paper or a wooden panel. Prime the substrate with the encaustic medium first and leave it to dry. Once dry add some collage to it and some soft pastels for a splash of colour.

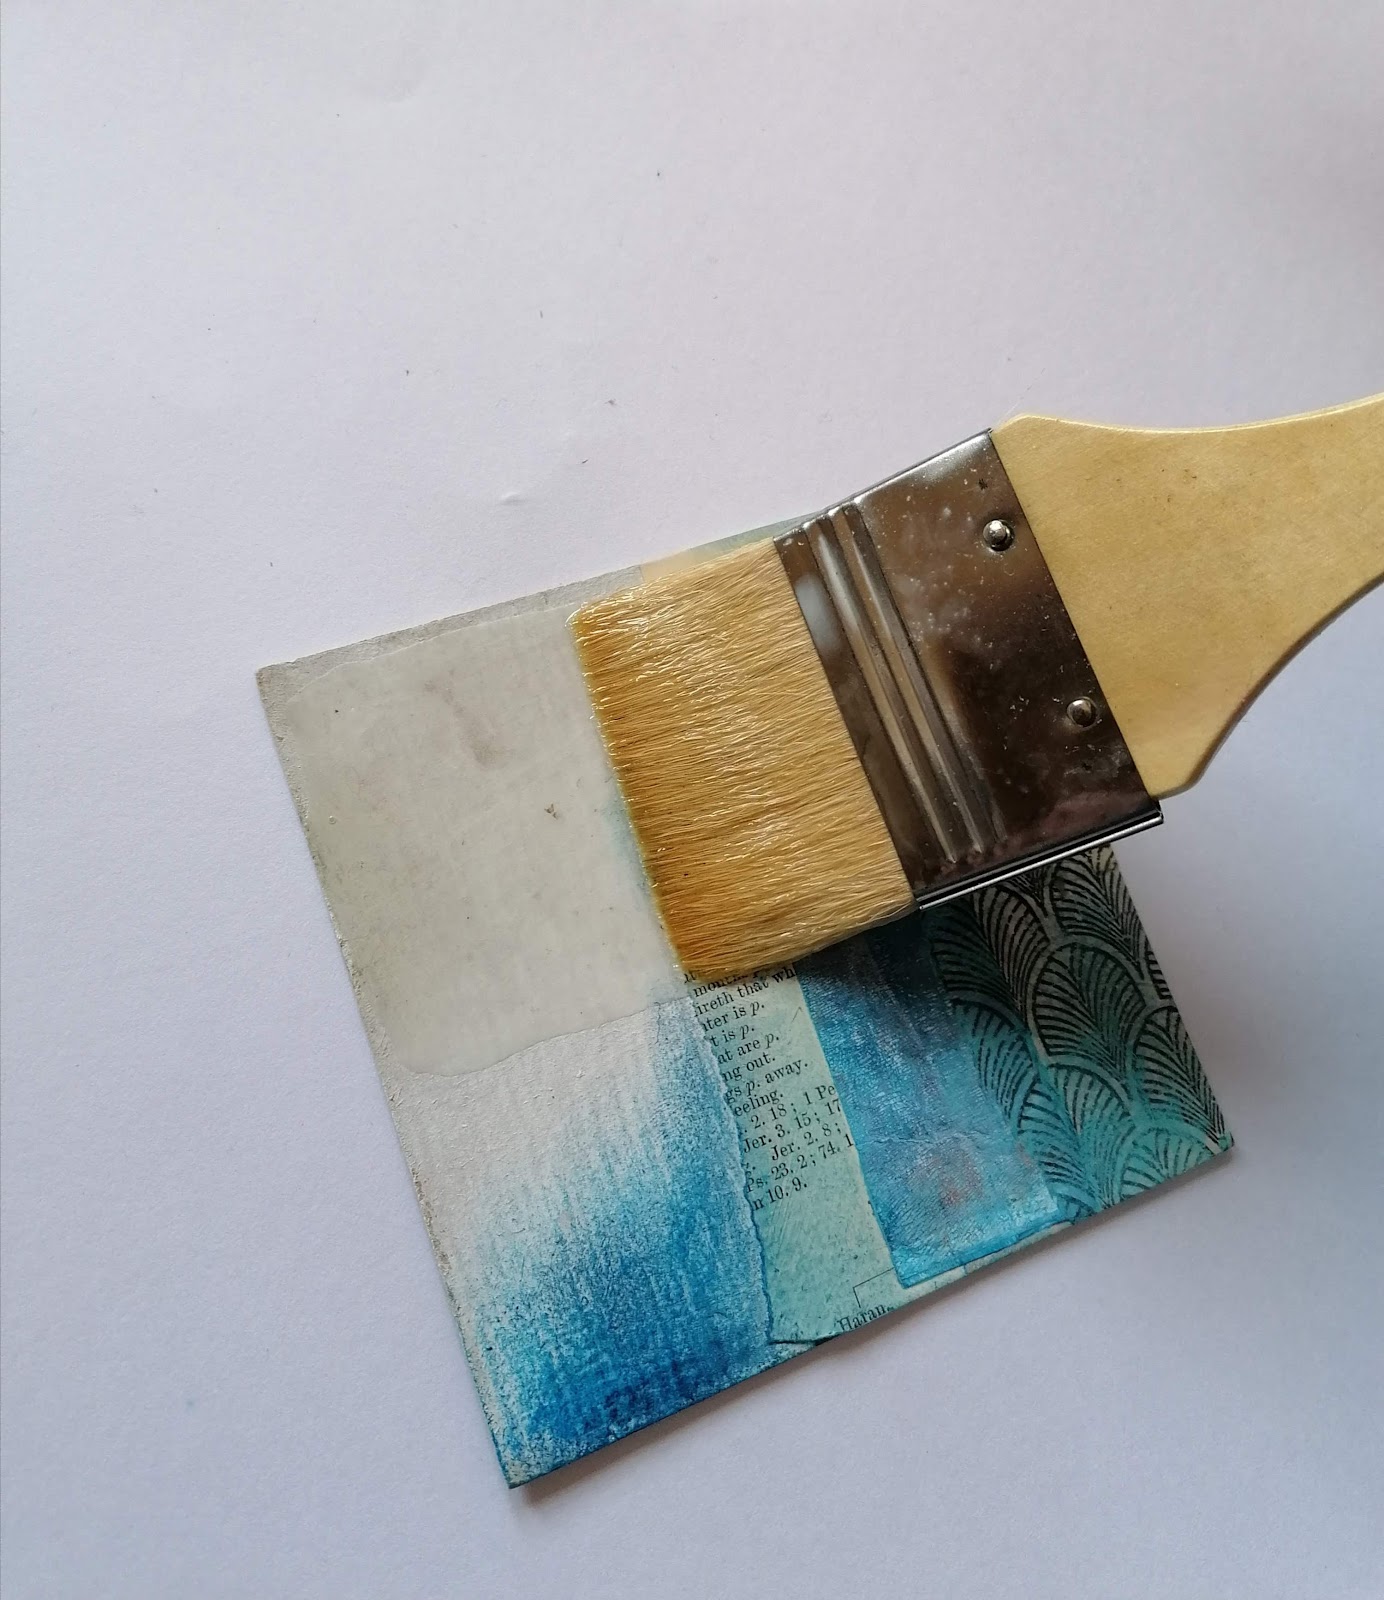
Now get the hot plate on and the encaustic medium melting in the loaf tin, keeping a close eye on the temperature the whole time. Place your brushes on the pallet to warm them too. Once the wax is melted apply the first layer to the substrate. You need to do this lightly, dipping your brush into the wax and gently brushing it over the surface.
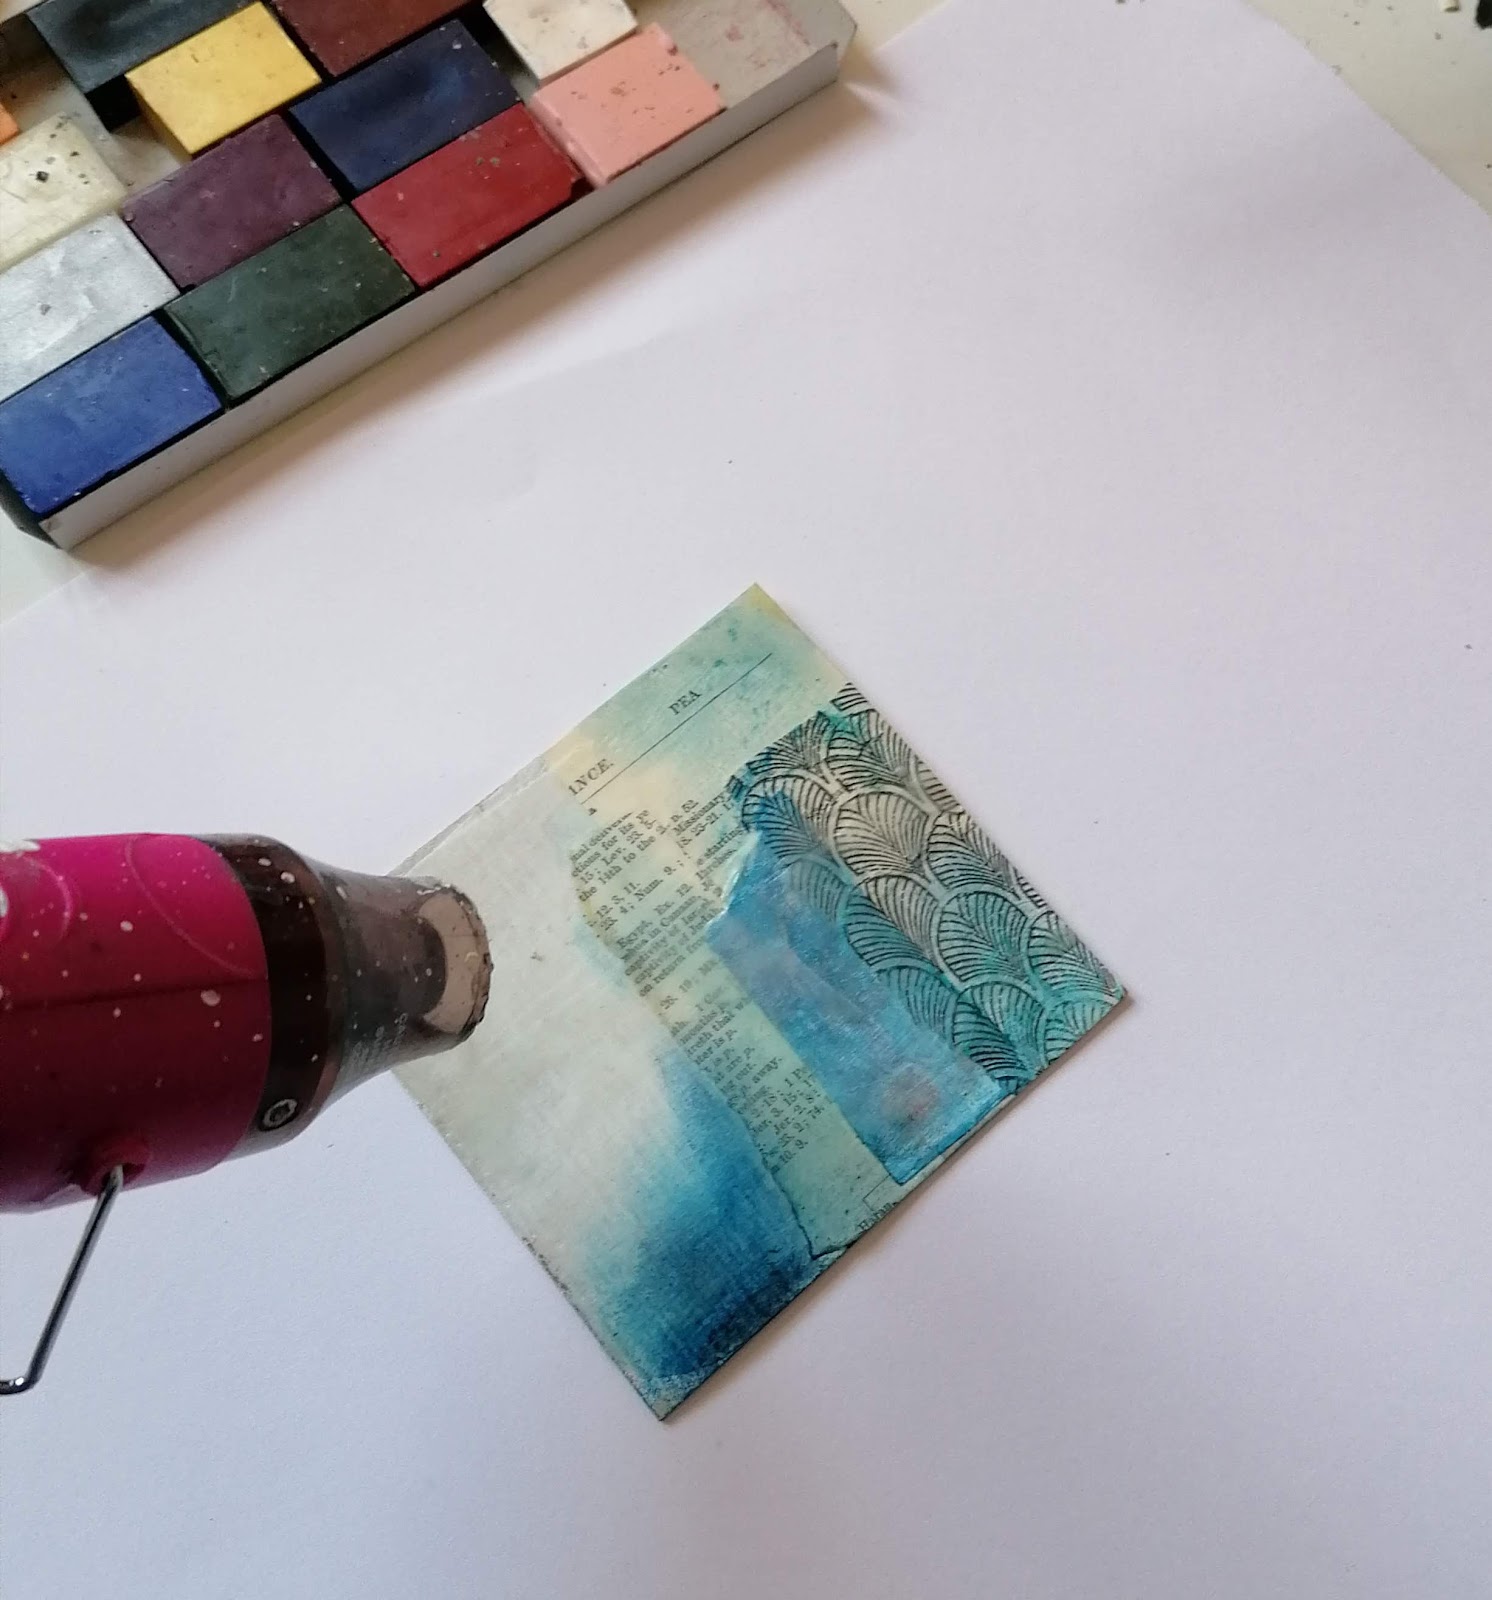
Next comes fusing. For every layer, run your torch or heat gun over it just until you see it turn shiny. This is called fusing – it removes the brush marks and melts each layer together to set the piece as one.
Let’s add another layer. The medium may appear milky at first but should go clear after a while. Once we have a few layers we can start to experiment with adding other elements.
Let’s try adding some colours. Melt the encaustic paints directly onto the plate and use your brush to apply it. Make sure you clean your pallet and brush between colours using the soya wax and try not to add any colour into the encaustic medium.
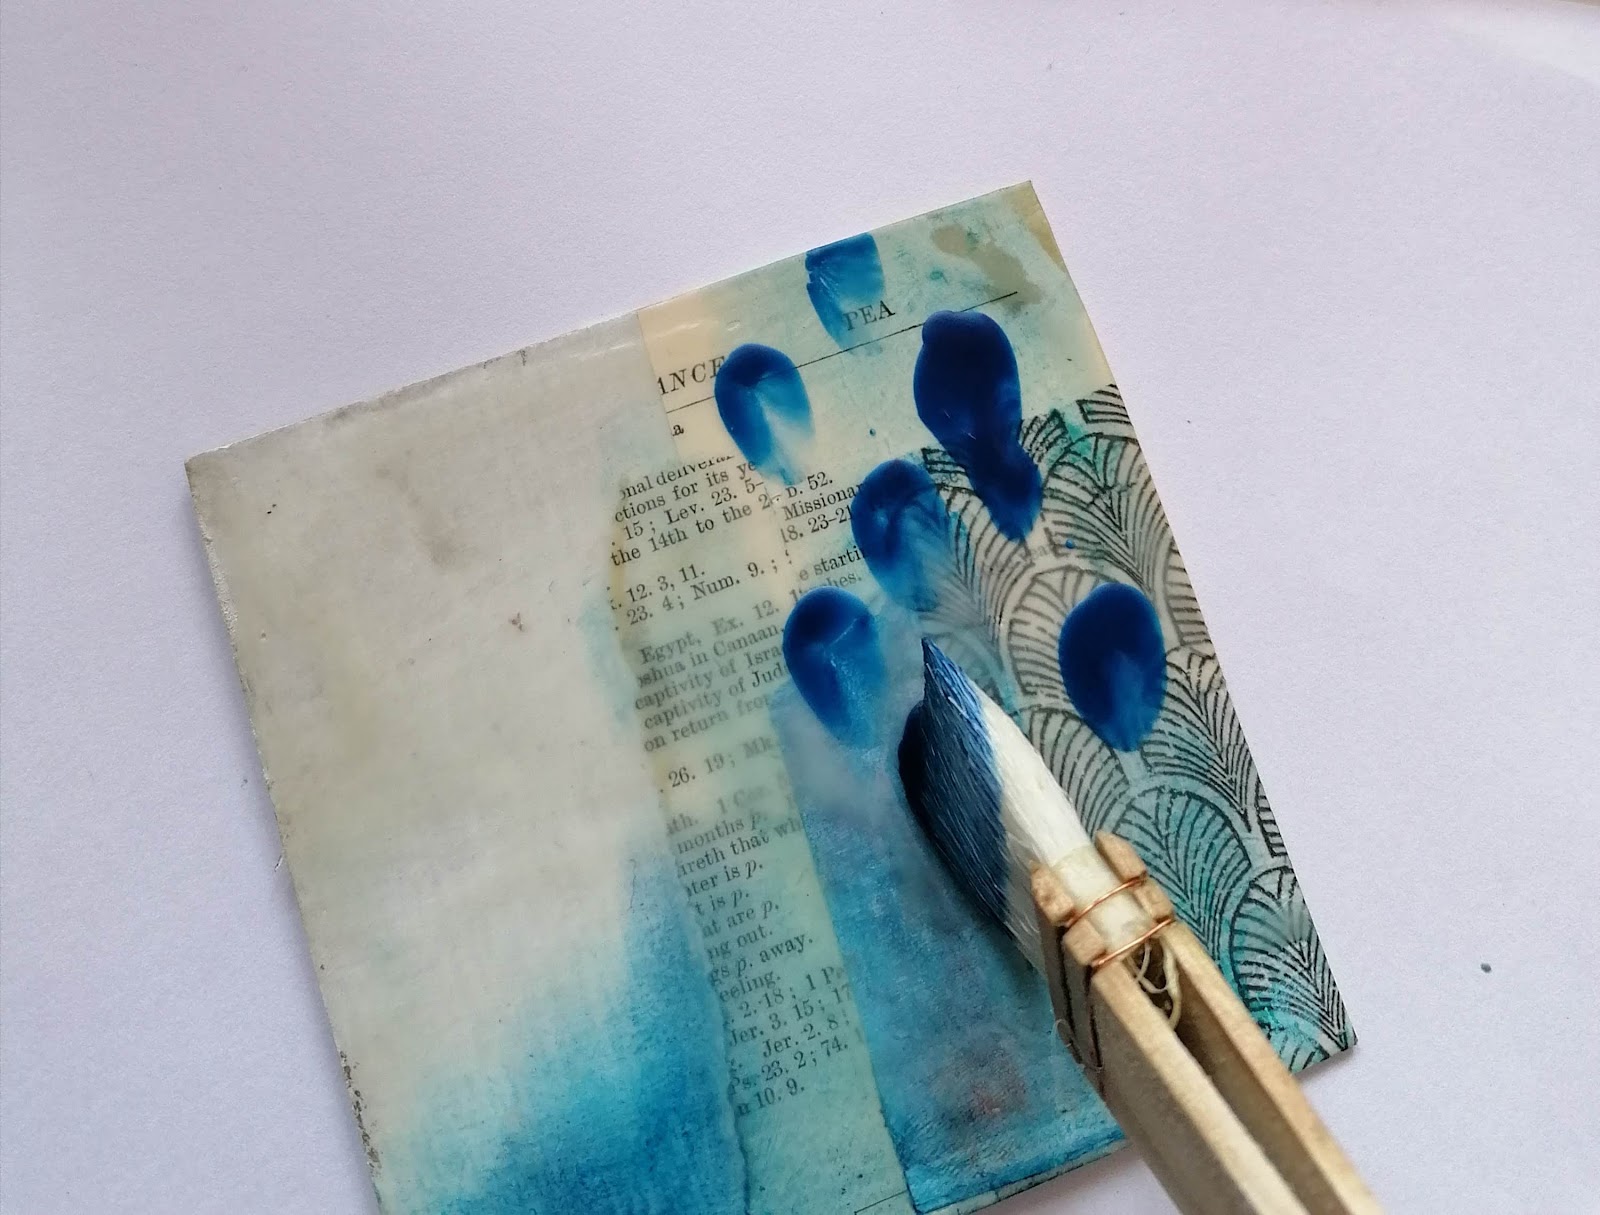
Remember to fuse each layer.
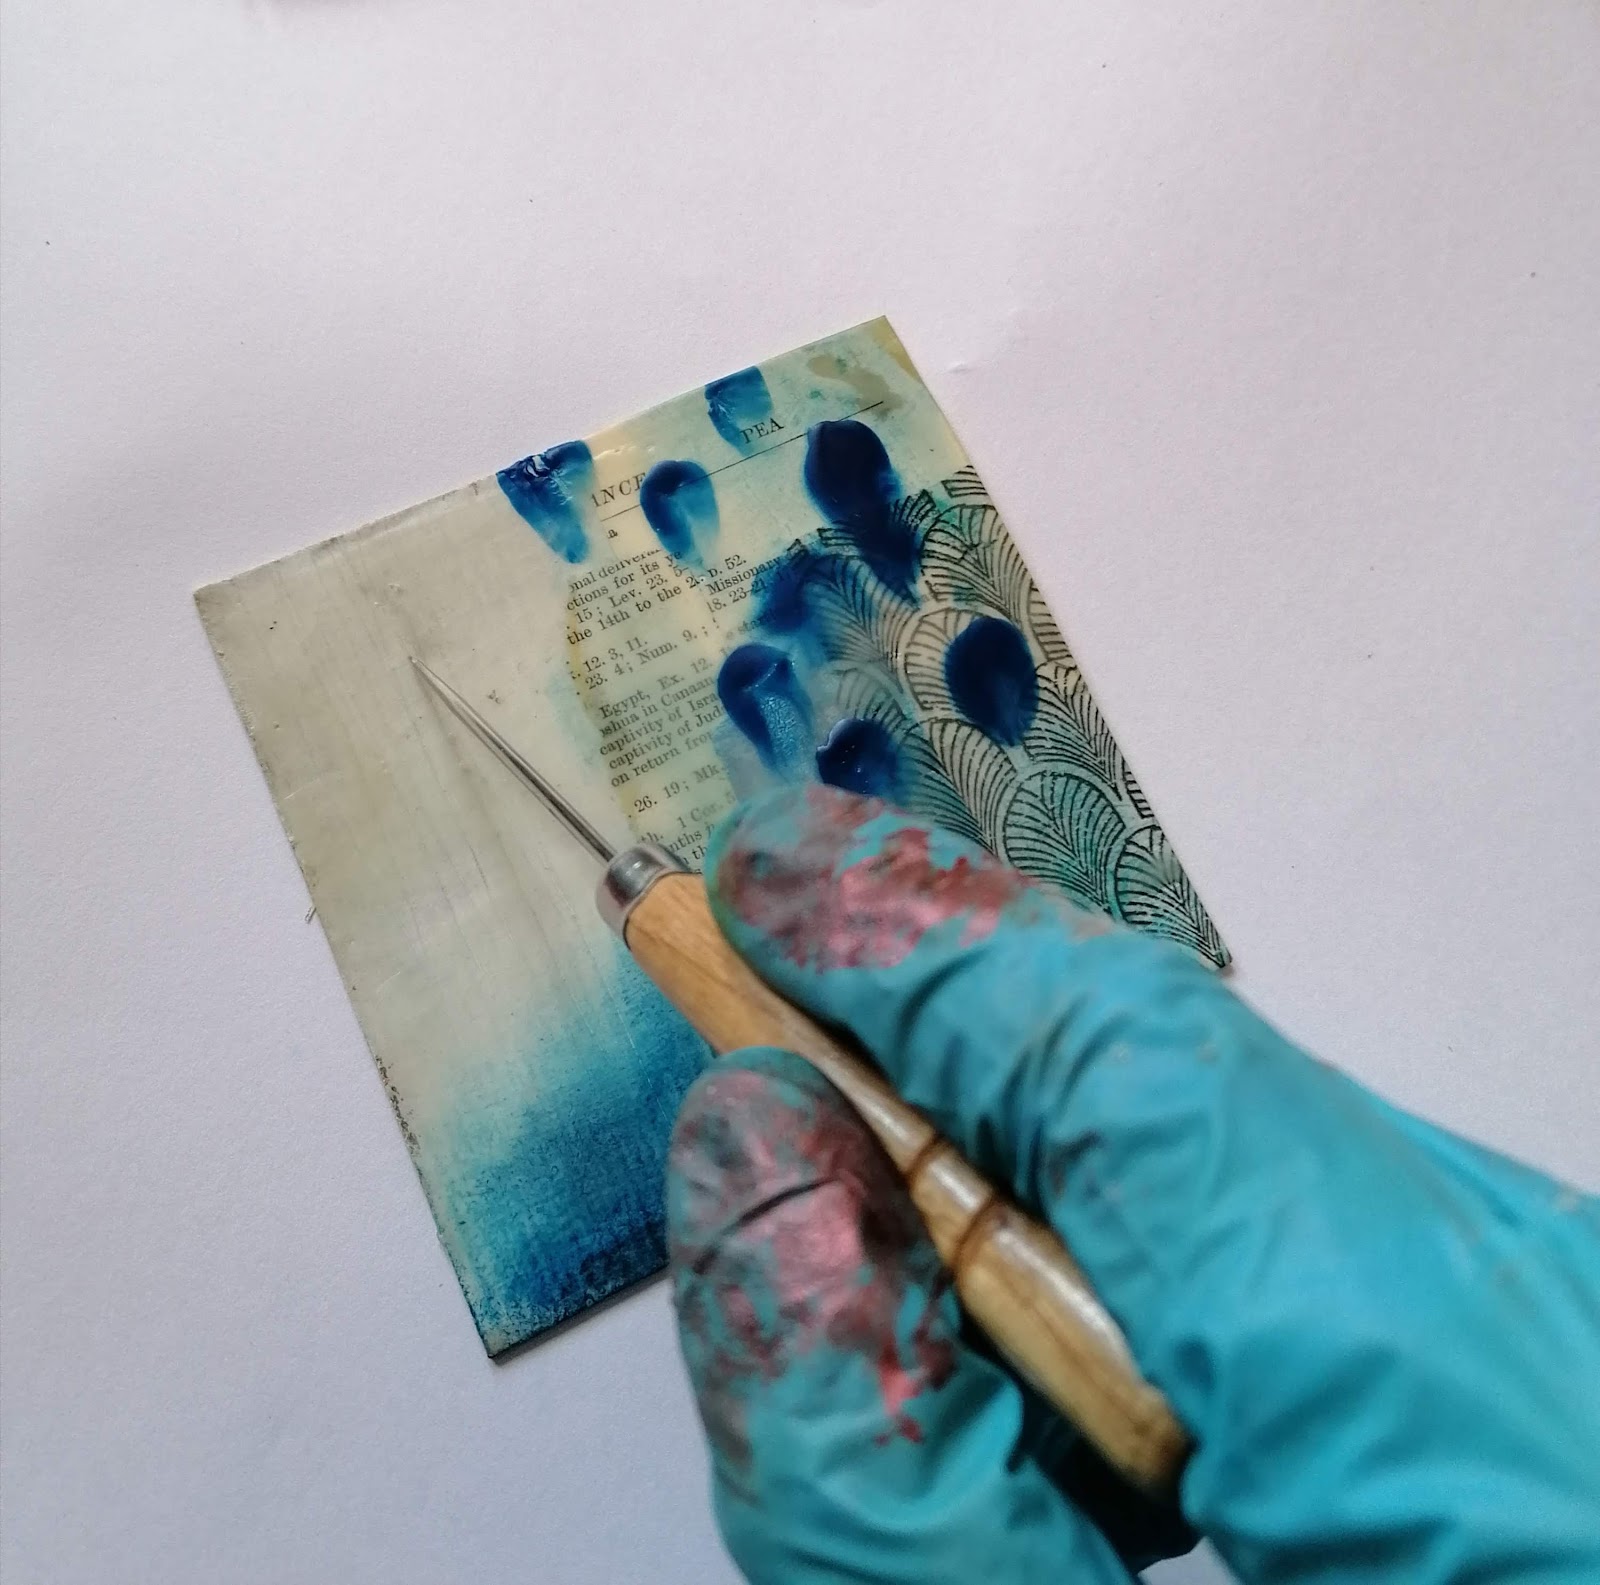
Next, let’s try scraping into the wax with a scraper tool. Make sure the surface is completely cool first. You can add loads of different textures and patterns into your project this way.
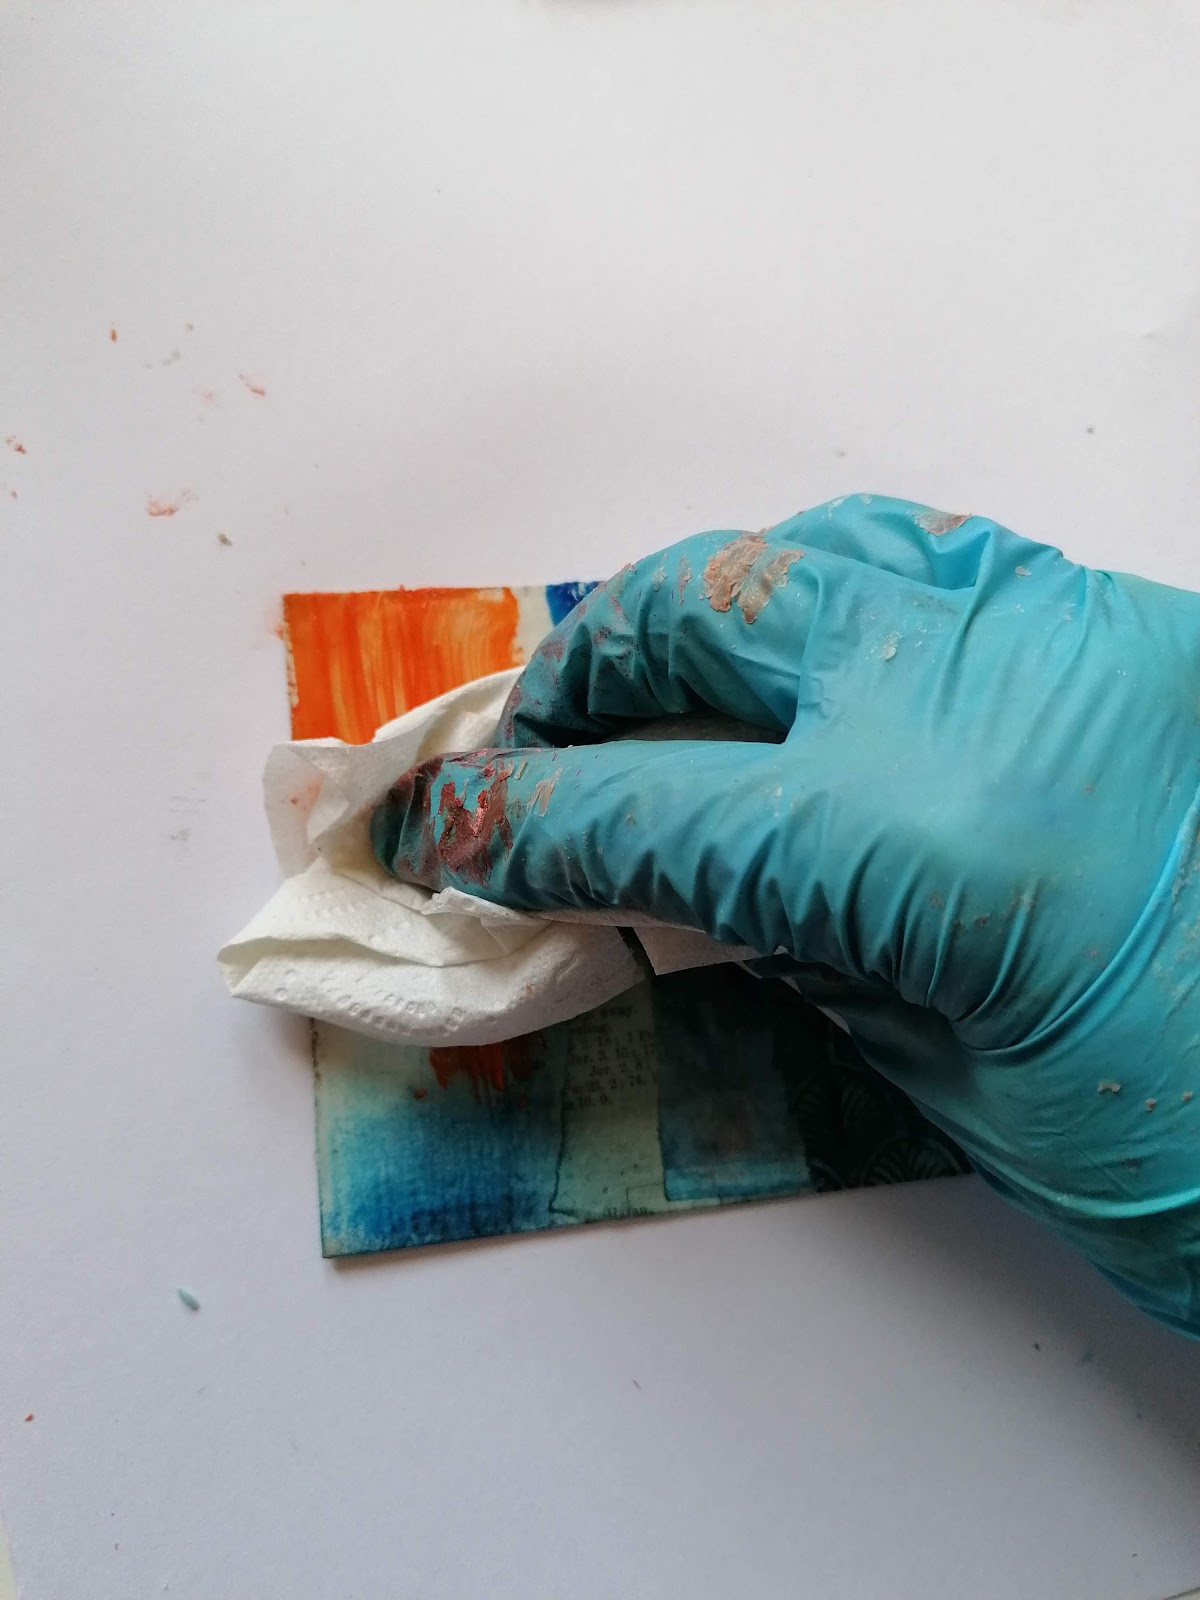
Finally, for this piece let’s add some extra colour over the top. Using oil paint rub some colour over the scrape marks you made then wipe away the excess with a paper towel. This will fill the groves with colour. You can also add colour directly onto the surface with oil pastels or ink.
 |  |
 |  |

So there we have it! I hope that this gives you a good starting point to begin exploring with encaustics. There are so many ideas and different techniques to try, but I warn you it is highly addictive!
Enjoy, Lisa x